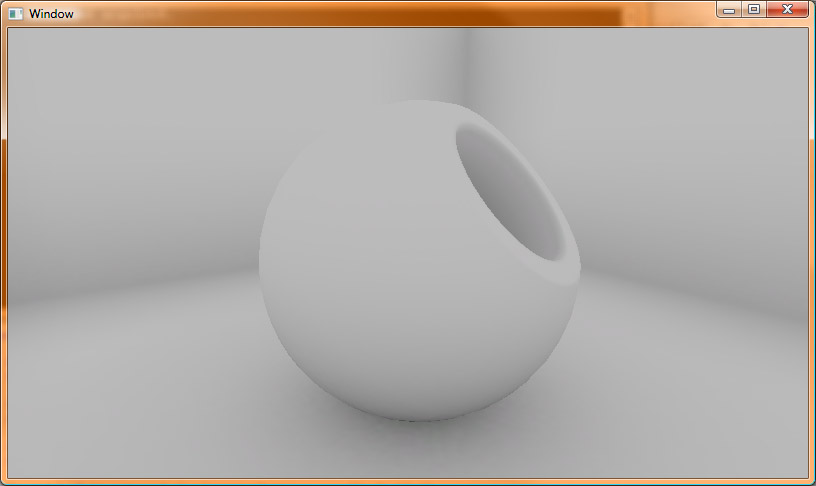
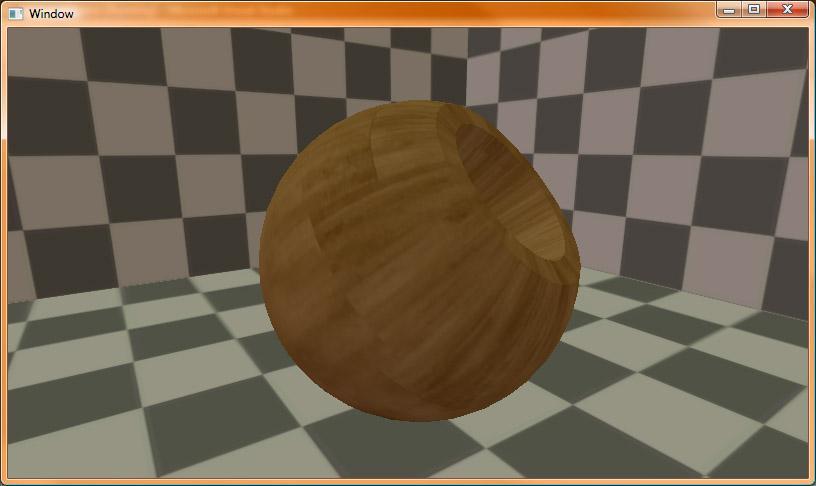
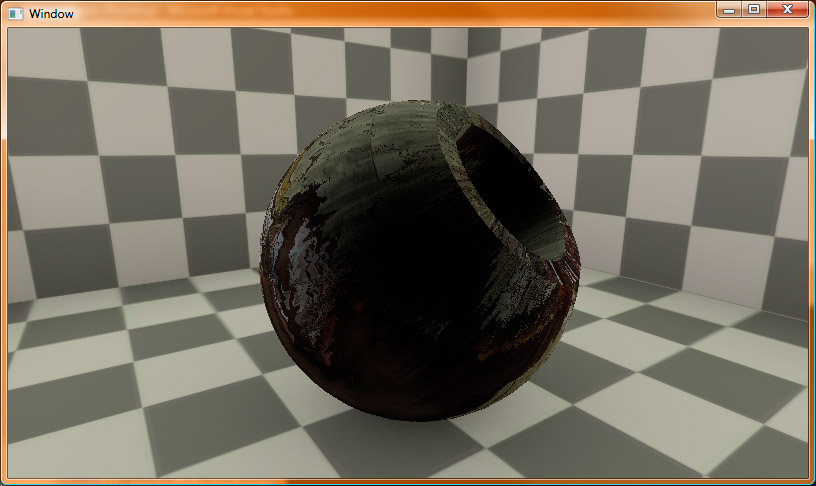
A while back, I wanted to improve the material system I was using in my engine at home, since at the time, I had just just one fixed material type. I had to specify three textures for each object I wanted to render: Diffuse, Specular and Normal. If I didn’t want specular, I had to use a black specular texture. This was barely OK for very simple things, but soon I wanted more…
I’m not really going to mention anything about the lighting in this article, since that’s still a work in progress (as can be seen by the lack of shadows below), but I hope this will be interesting nonetheless.
Constraints
Designing a material system can be a bit of a can of worms, so I thought for a while about what features I really wanted.
Only One Shader
This first constraint is really all about being able to maintain the shader code, and reduce the amount of C++ code I need to write in order to use it. I’ve seen a few different engines that piece together different fragments of HLSL to form shaders. This is pretty nice since there’s absolutely no redundant code that gets compiled in, but the problem is that you can end up with lots and lots of shaders. You then need to write code to load the correct shader when you need it, write code to compile the shaders on the fly if they don’t exist etc. Compiling all the permutations is an option, but you can quickly end up having to compile thousands of shaders despite the fact that you may use only a handful. Since I’m just one guy, I want something quick to implement, and quick to maintain.
Optional Material Features
Obviously my first material system sucked because it was hard coded to one specific material type. I had to do all the specular calculations even if I didn’t want specular. Not only was this a waste of precious pixel shader instructions and texture fetches, it was also annoying to have to specifically ‘zero-out’ features that I didn’t want to use. I wanted to be able to just specify the material properties that I do want to use.
Optional Textures
When I was playing around with creating materials, I would quite often find myself wanting to have a solid color. The way I had to do this in the old system was to create a constant-colored texture. I really wanted to just be able to specify a base color for something like diffuse, then if I want to override it, I could specify a texture as well.
Implementation
There were really only two things I had to do inside my shader in order to satisfy my constraints:
- Use branches inside the shader to choose whether or not to execute the code for a particular feature.
- Use the fact that DirectX 10 returns 0 from an unbound sampler to lerp between base colors and texture samples.
Uber-Shaders and Branching
Using branches in a shader isn’t a new idea by any means. You’ve probably heard of uber-shaders before, and that’s exactly what I implemented. An uber-shader is basically a shader that does everything, but you can turn features on and off using branches. One thing you need to beware of though, is that there are two types of branches inside shaders: Static and Dynamic.
When you use static branching, you are using the contents of a constant register to decide which branch to take. As such, the shader knows which side of the branch it is going to take before the shader even executes. This means that the branches that are not taken are skipped completely, and so this is a very efficient form of branching.
Dynamic branching uses the contents of a variable inside the shader to make the branch decision. Microsoft says that “the performance hit is the cost of the branch plus the cost of the instructions on the side of the branch taken”. At first, this seems pretty good, since the performance hit of a branch instruction (if, else, endif) is only two cycles, but this isn’t quite the whole truth. When pixels are being shaded, they are part of a pixel quad. This is just a group of four pixels that are being shaded at the same time (I assume that the reason for this is to allow gradient operations to work correctly or something). All the pixels in the quad get shaded simultaneously, so if one pixel takes one side of the branch, and another takes the other side, the shader must execute both sides for the quad. This is actually worse than if there was no branch at all, since you have paid the cost for both sides of the branch, plus the cost of the branch instructions too!
Given that fact that I know at draw time which branches I want to take before each draw call, I use static branching to turn features on and off.
Sampling From Unbound Textures
There was a change in behavior in Direct3D 10 where reads from unbound samplers now return zero rather than one. This turned out to be pretty convenient, since I use this to sample from textures in a slightly different way. I just wrote a function which samples a texture, then uses the alpha channel to blend between a predetermined value and the sampled value modulated with the predetermined value.
That sentence was probably a bit wordy, here’s some psuedo-code:
float3 LerpSample(float3 baseValue, Texture2D sourceTexture)
{
float4 sample = texture.Sample(texcoord, sampler);
return Lerp(baseValue, baseValue * sampler.rgb, sample.a);
}
So imagine that I have a red base color for my diffuse color. When I call LerpSample on an unbound sampler, the alpha value is zero, so I just get back my original red color. When the sampler is bound, then the alpha value is used to blend between the base value, and the tinted sampled value.
float3 diffuseColor = LerpSample(material.baseDiffuseColor, diffuseTexture, diffuseSampler, texcoord);
For sampling a normal map, I use a slightly different function, since I just want either the base value, or the sampled value, not a blend between them.
Material Descriptions
I store my materials in xml format, and parse them and convert to a runtime format as part of my pipeline. This allows me to leave out whole sections (like diffuse, specular, reflective etc) very easily, and it is also very simple to edit. Take a look at a sample material xml file here.
Conclusion
Well that’s it really. It’s still a rather rudimentary material system, but it’s a big step up from what I used to have. I’d like to add support for multiple textures of the same type at some point, but I don’t really need it right now. Overall I’m pretty satisfied, and so far it has been very easy to use.
Here’s a breakdown the different layers used in the wood material:
Ambient Occlusion:
Indirect lighting approximation:
Direct diffuse lighting:
Direct specular highlights:
Reflections from an environment map:
All together:
And that’s it! I’ll talk a little bit about the lighting models I’ve tried out, and my current lighting solution next time.


